Colored Pencil Shading 101
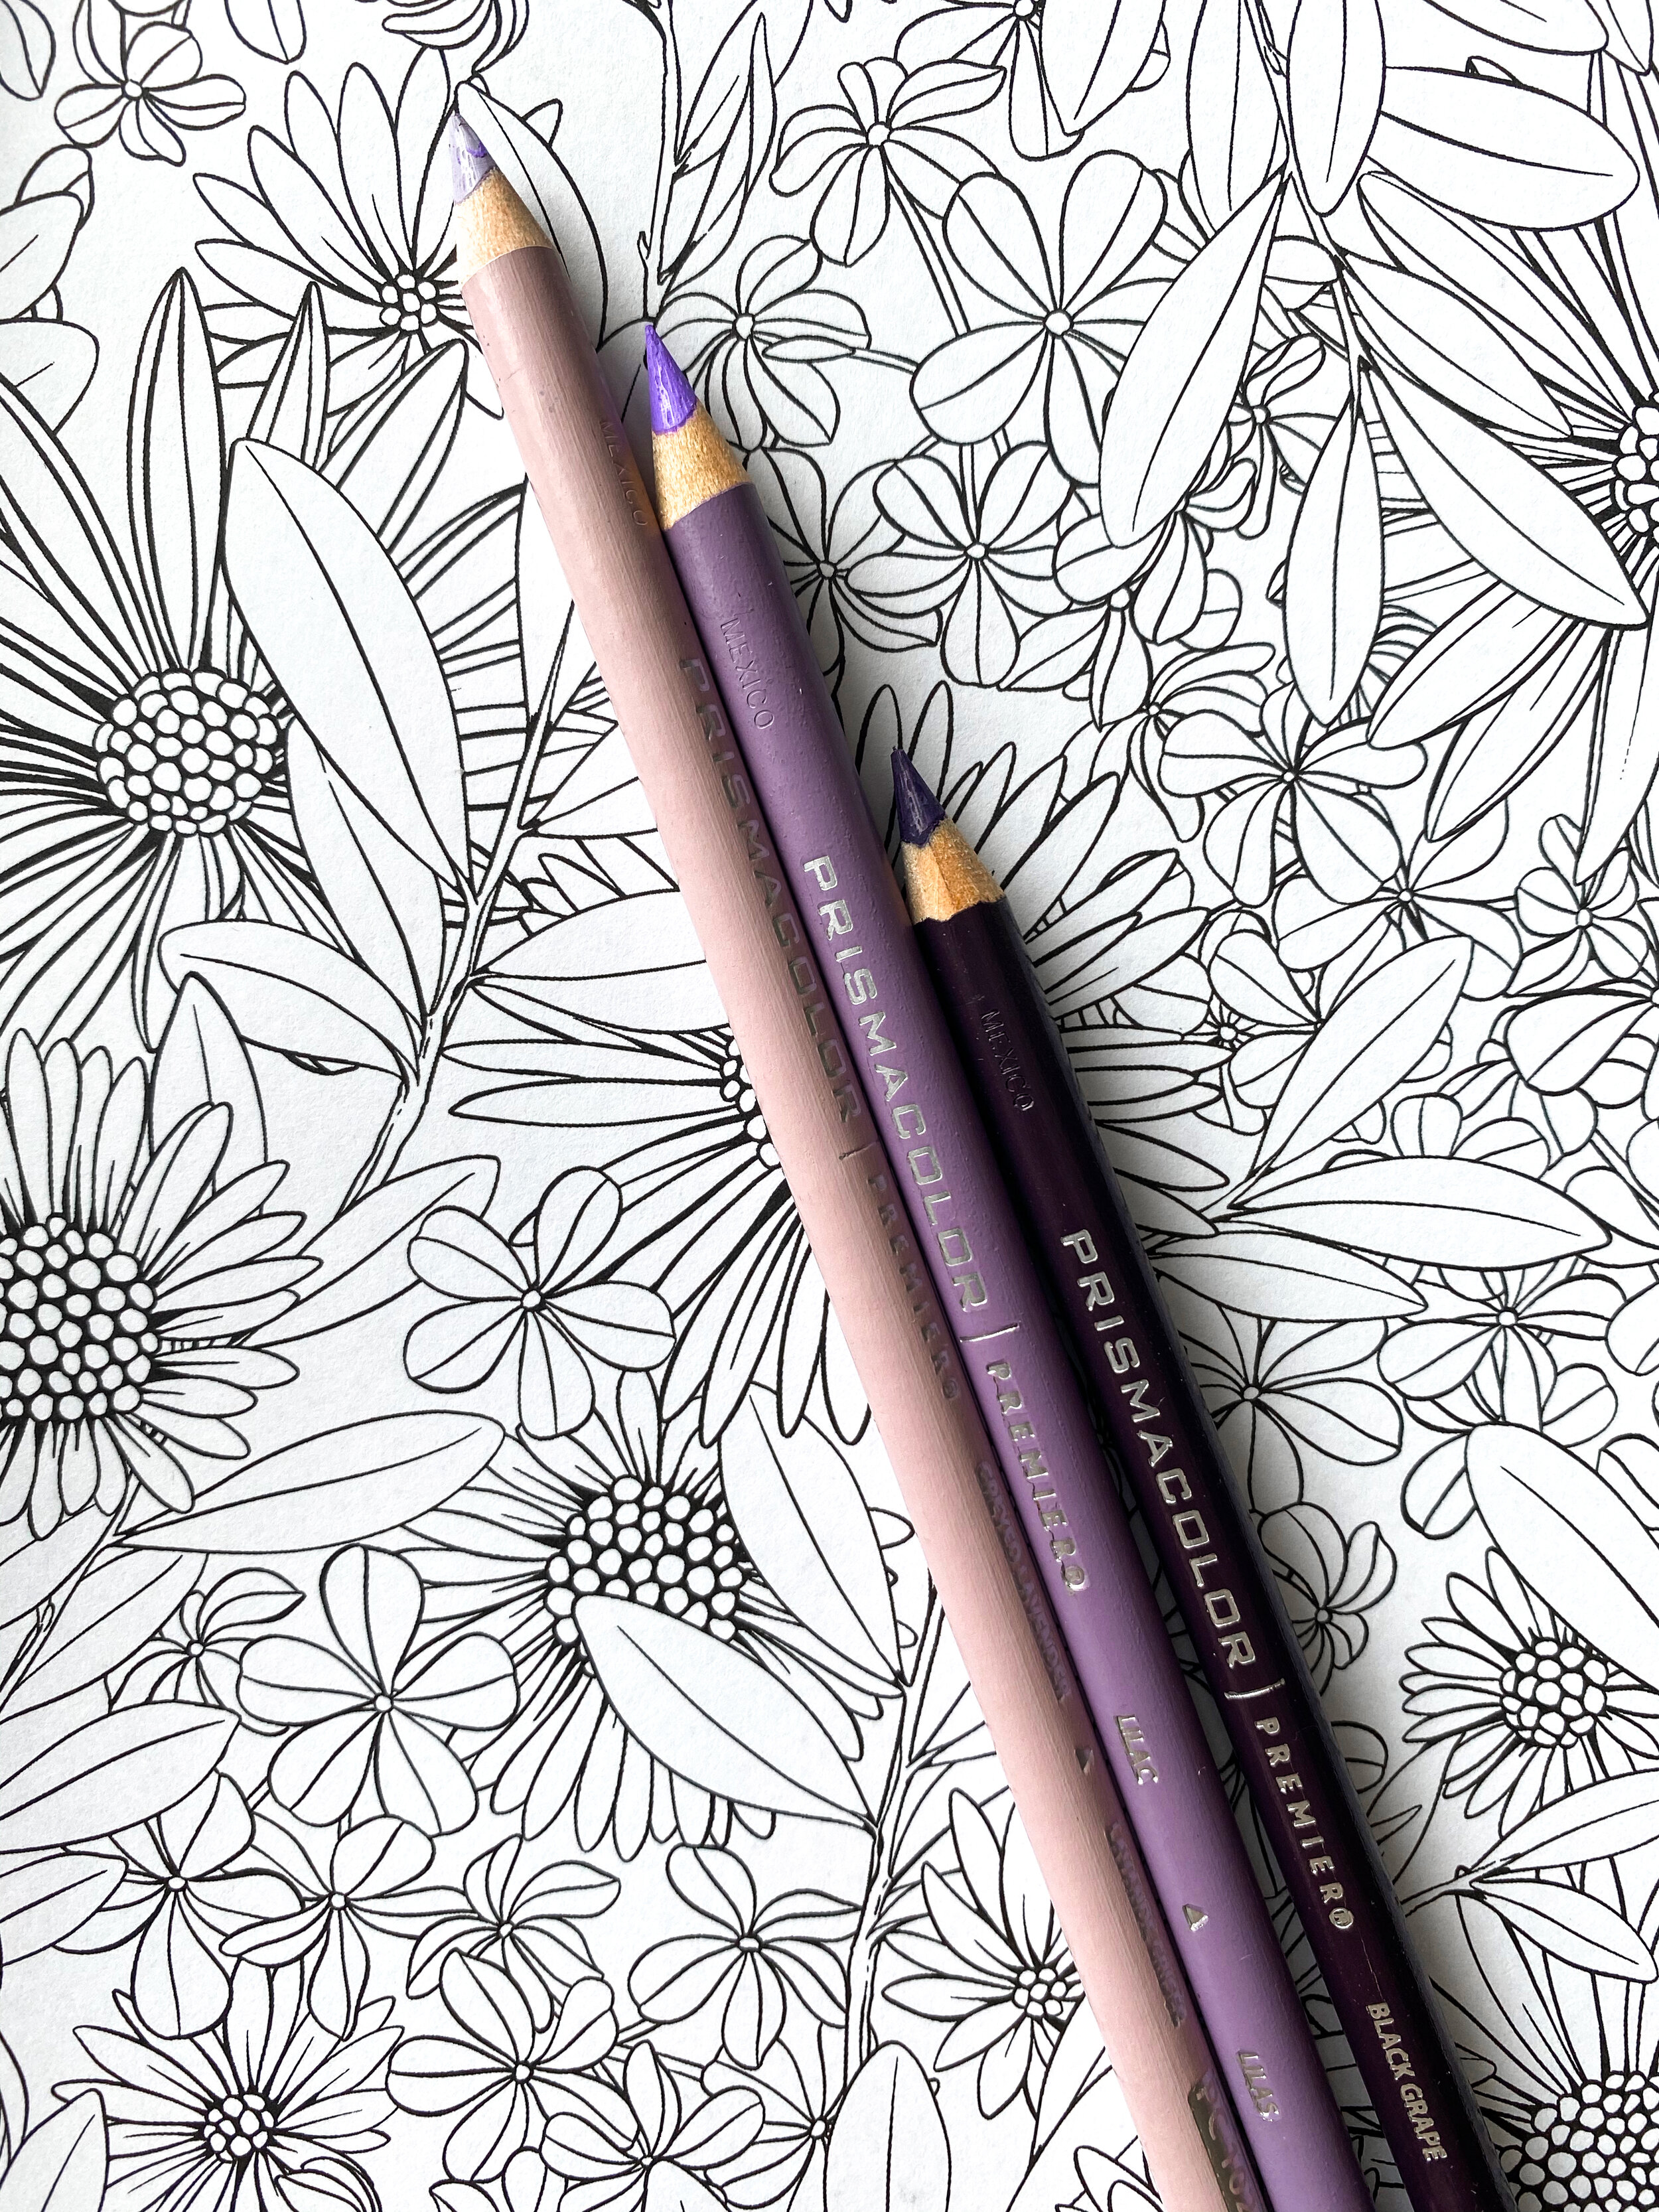
Select your colors
To start, try working with three colors in the same color family.
1 highlight (light color)
1 mid-tone (medium/main color)
1 shadow (dark color)

Shade Layer
Using your darkest shadow color, lightly add shading to base of petals, as well as the petals that sit underneath others.
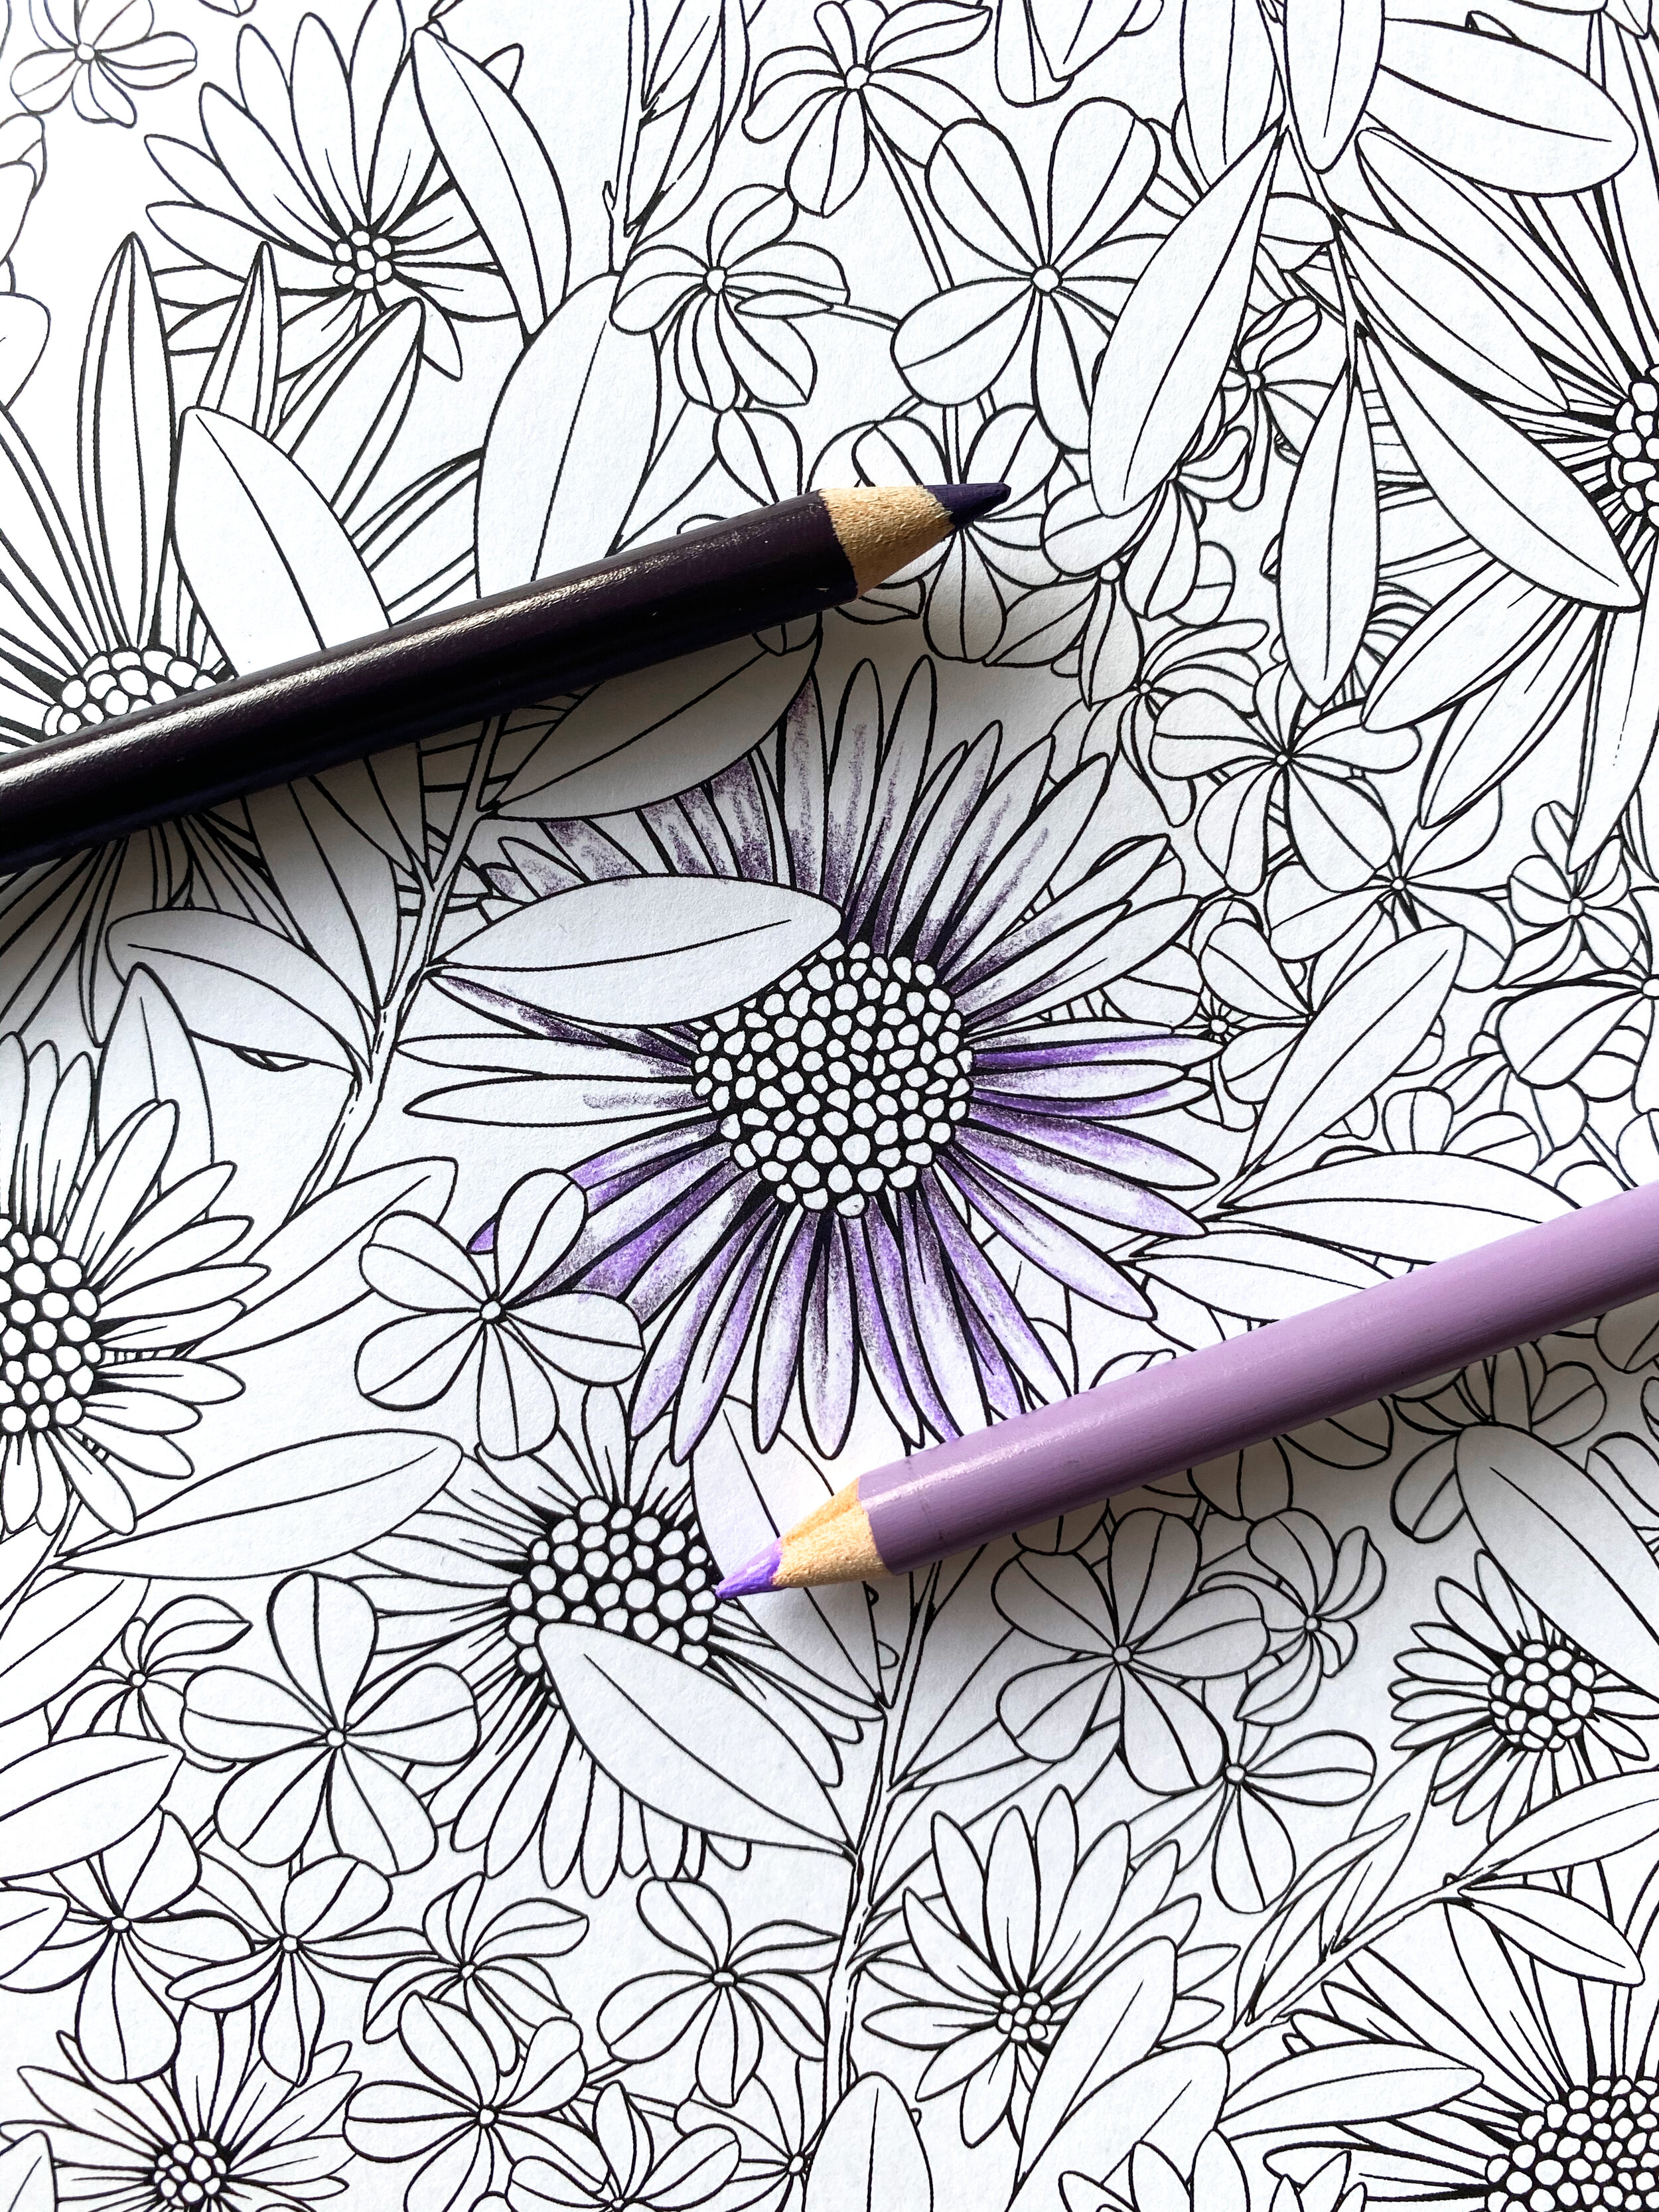
Main Color
Begin filling the base and edges of the petals with the medium color. Think of it kind of like creating a loose circle of color around the edges of each petal. Leave the centers of each petal blank

Highlights
Fill in the center of each petal with the lightest color. Slightly overlap the other colors to blend them.
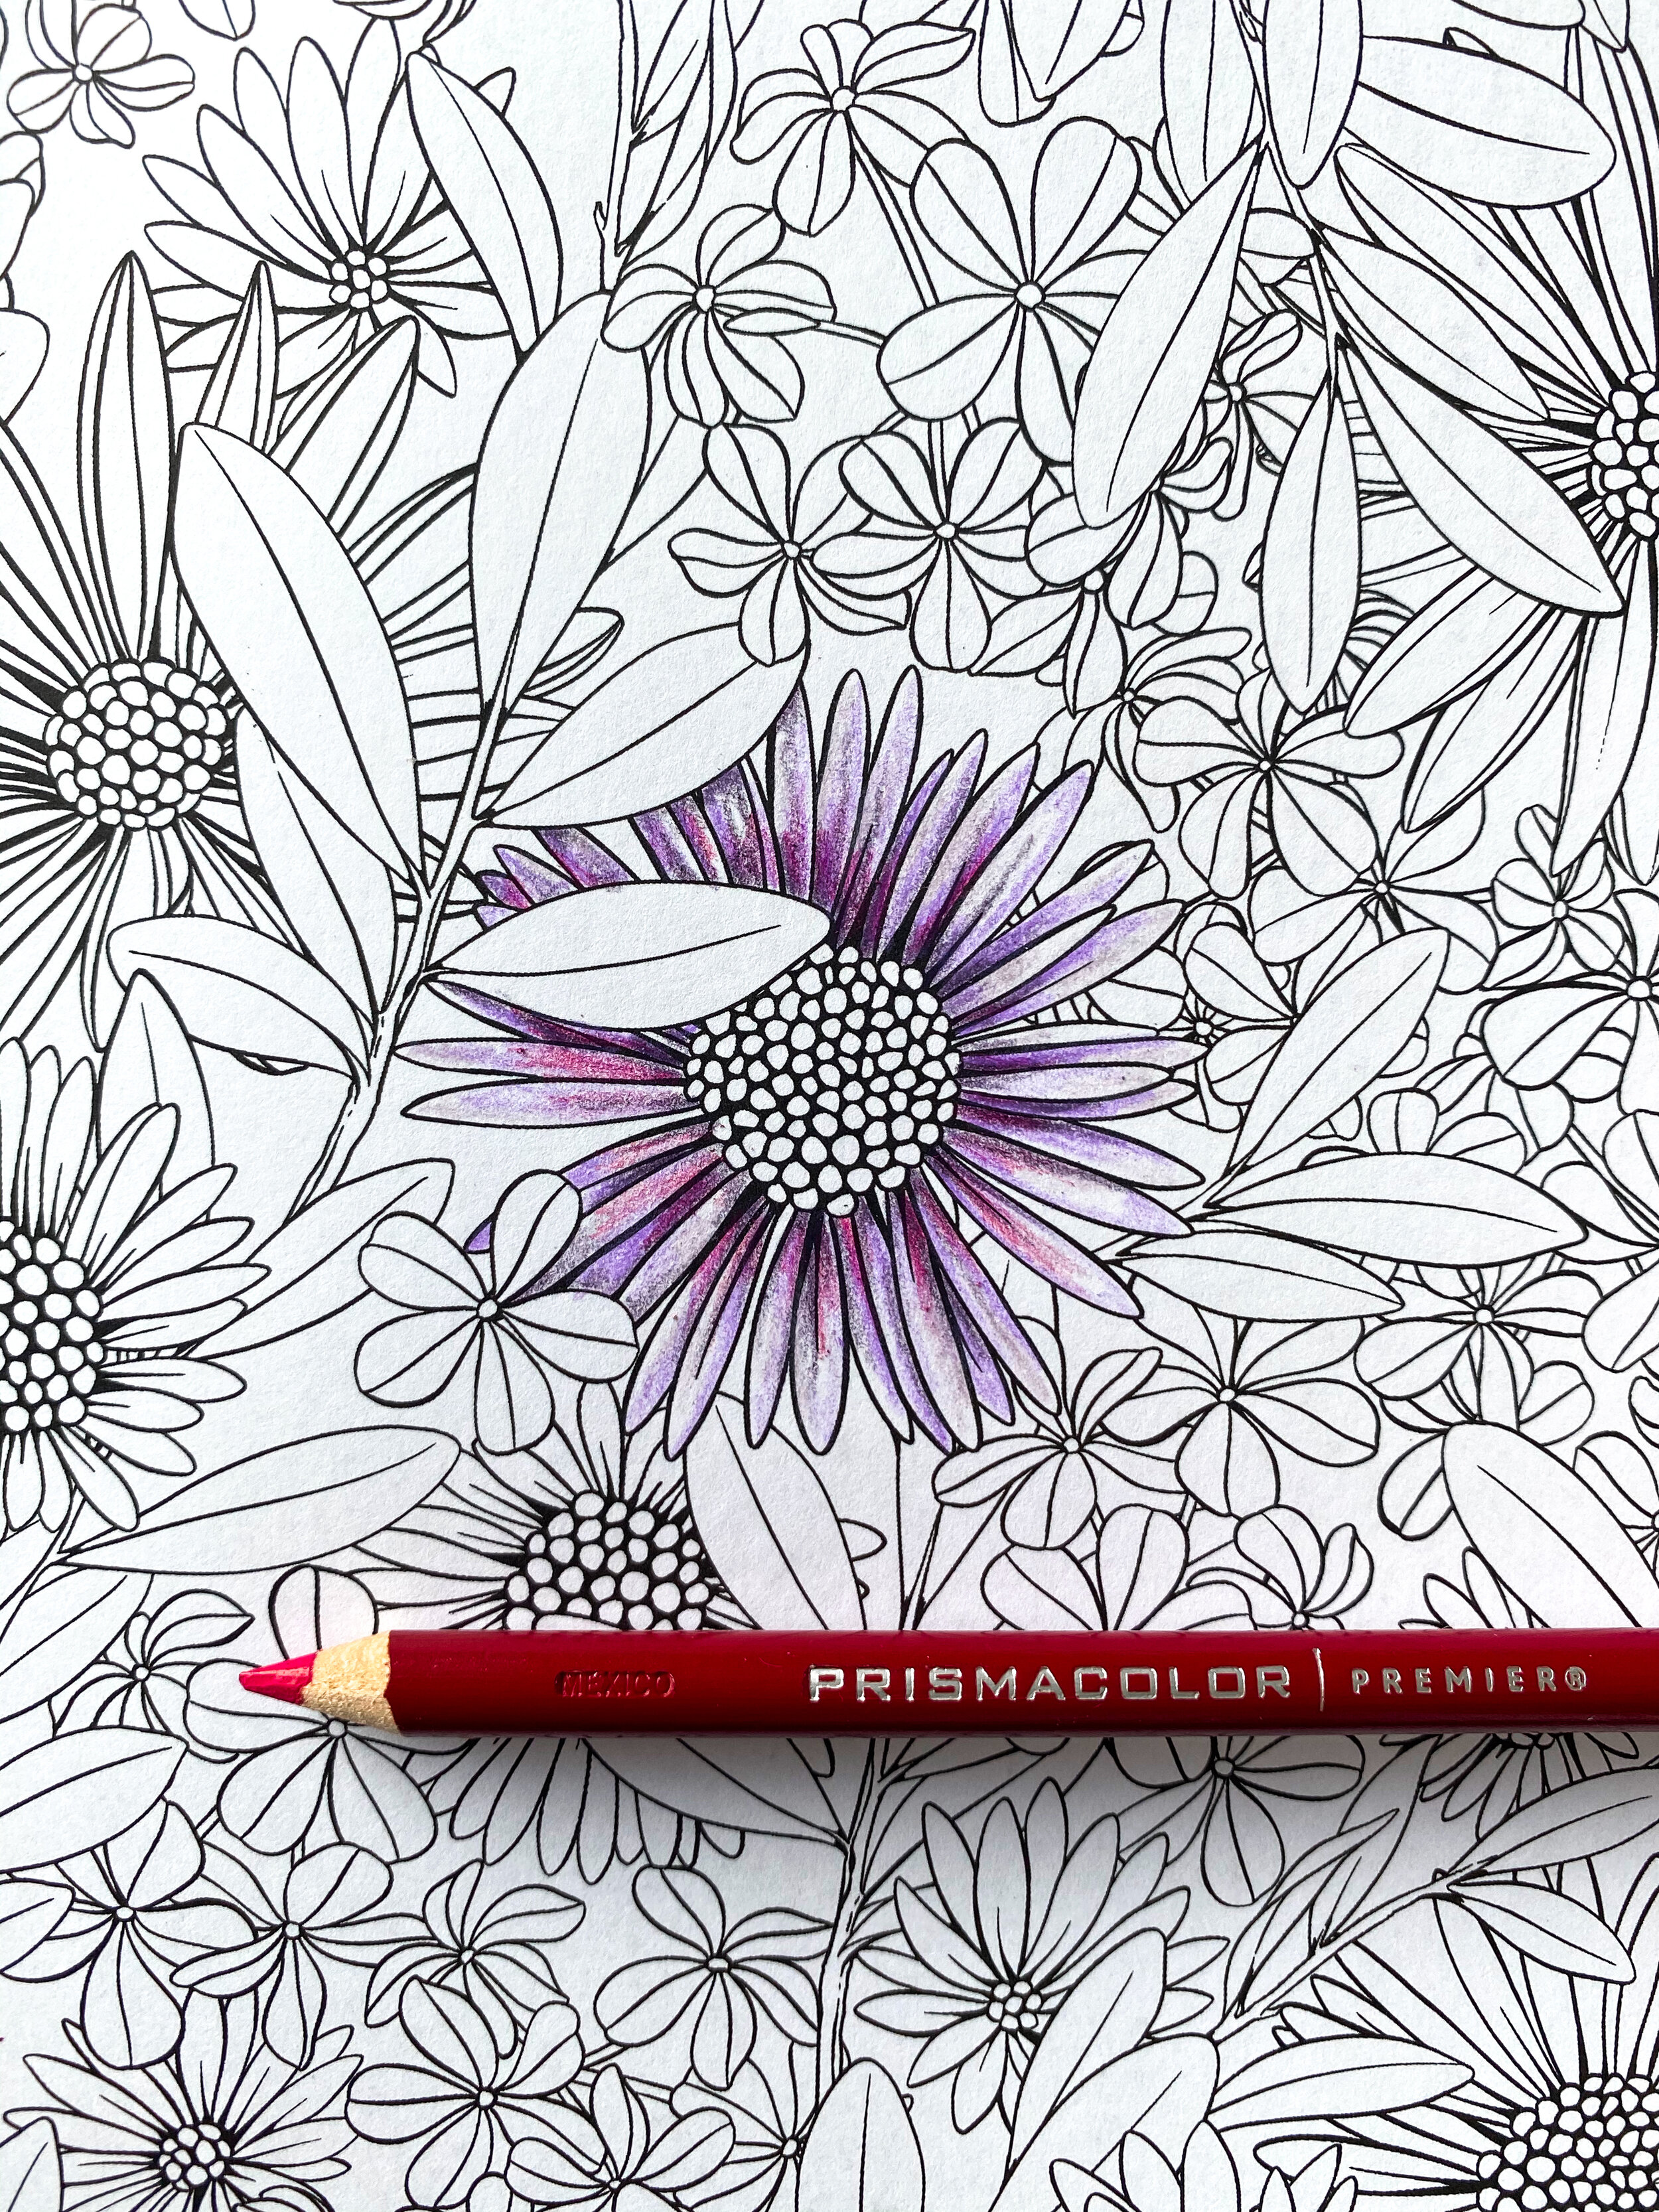
Optional Accent Color
You can use any mid-tone color to accent. I like to begin at the base of each petal to add a pop of interesting color.

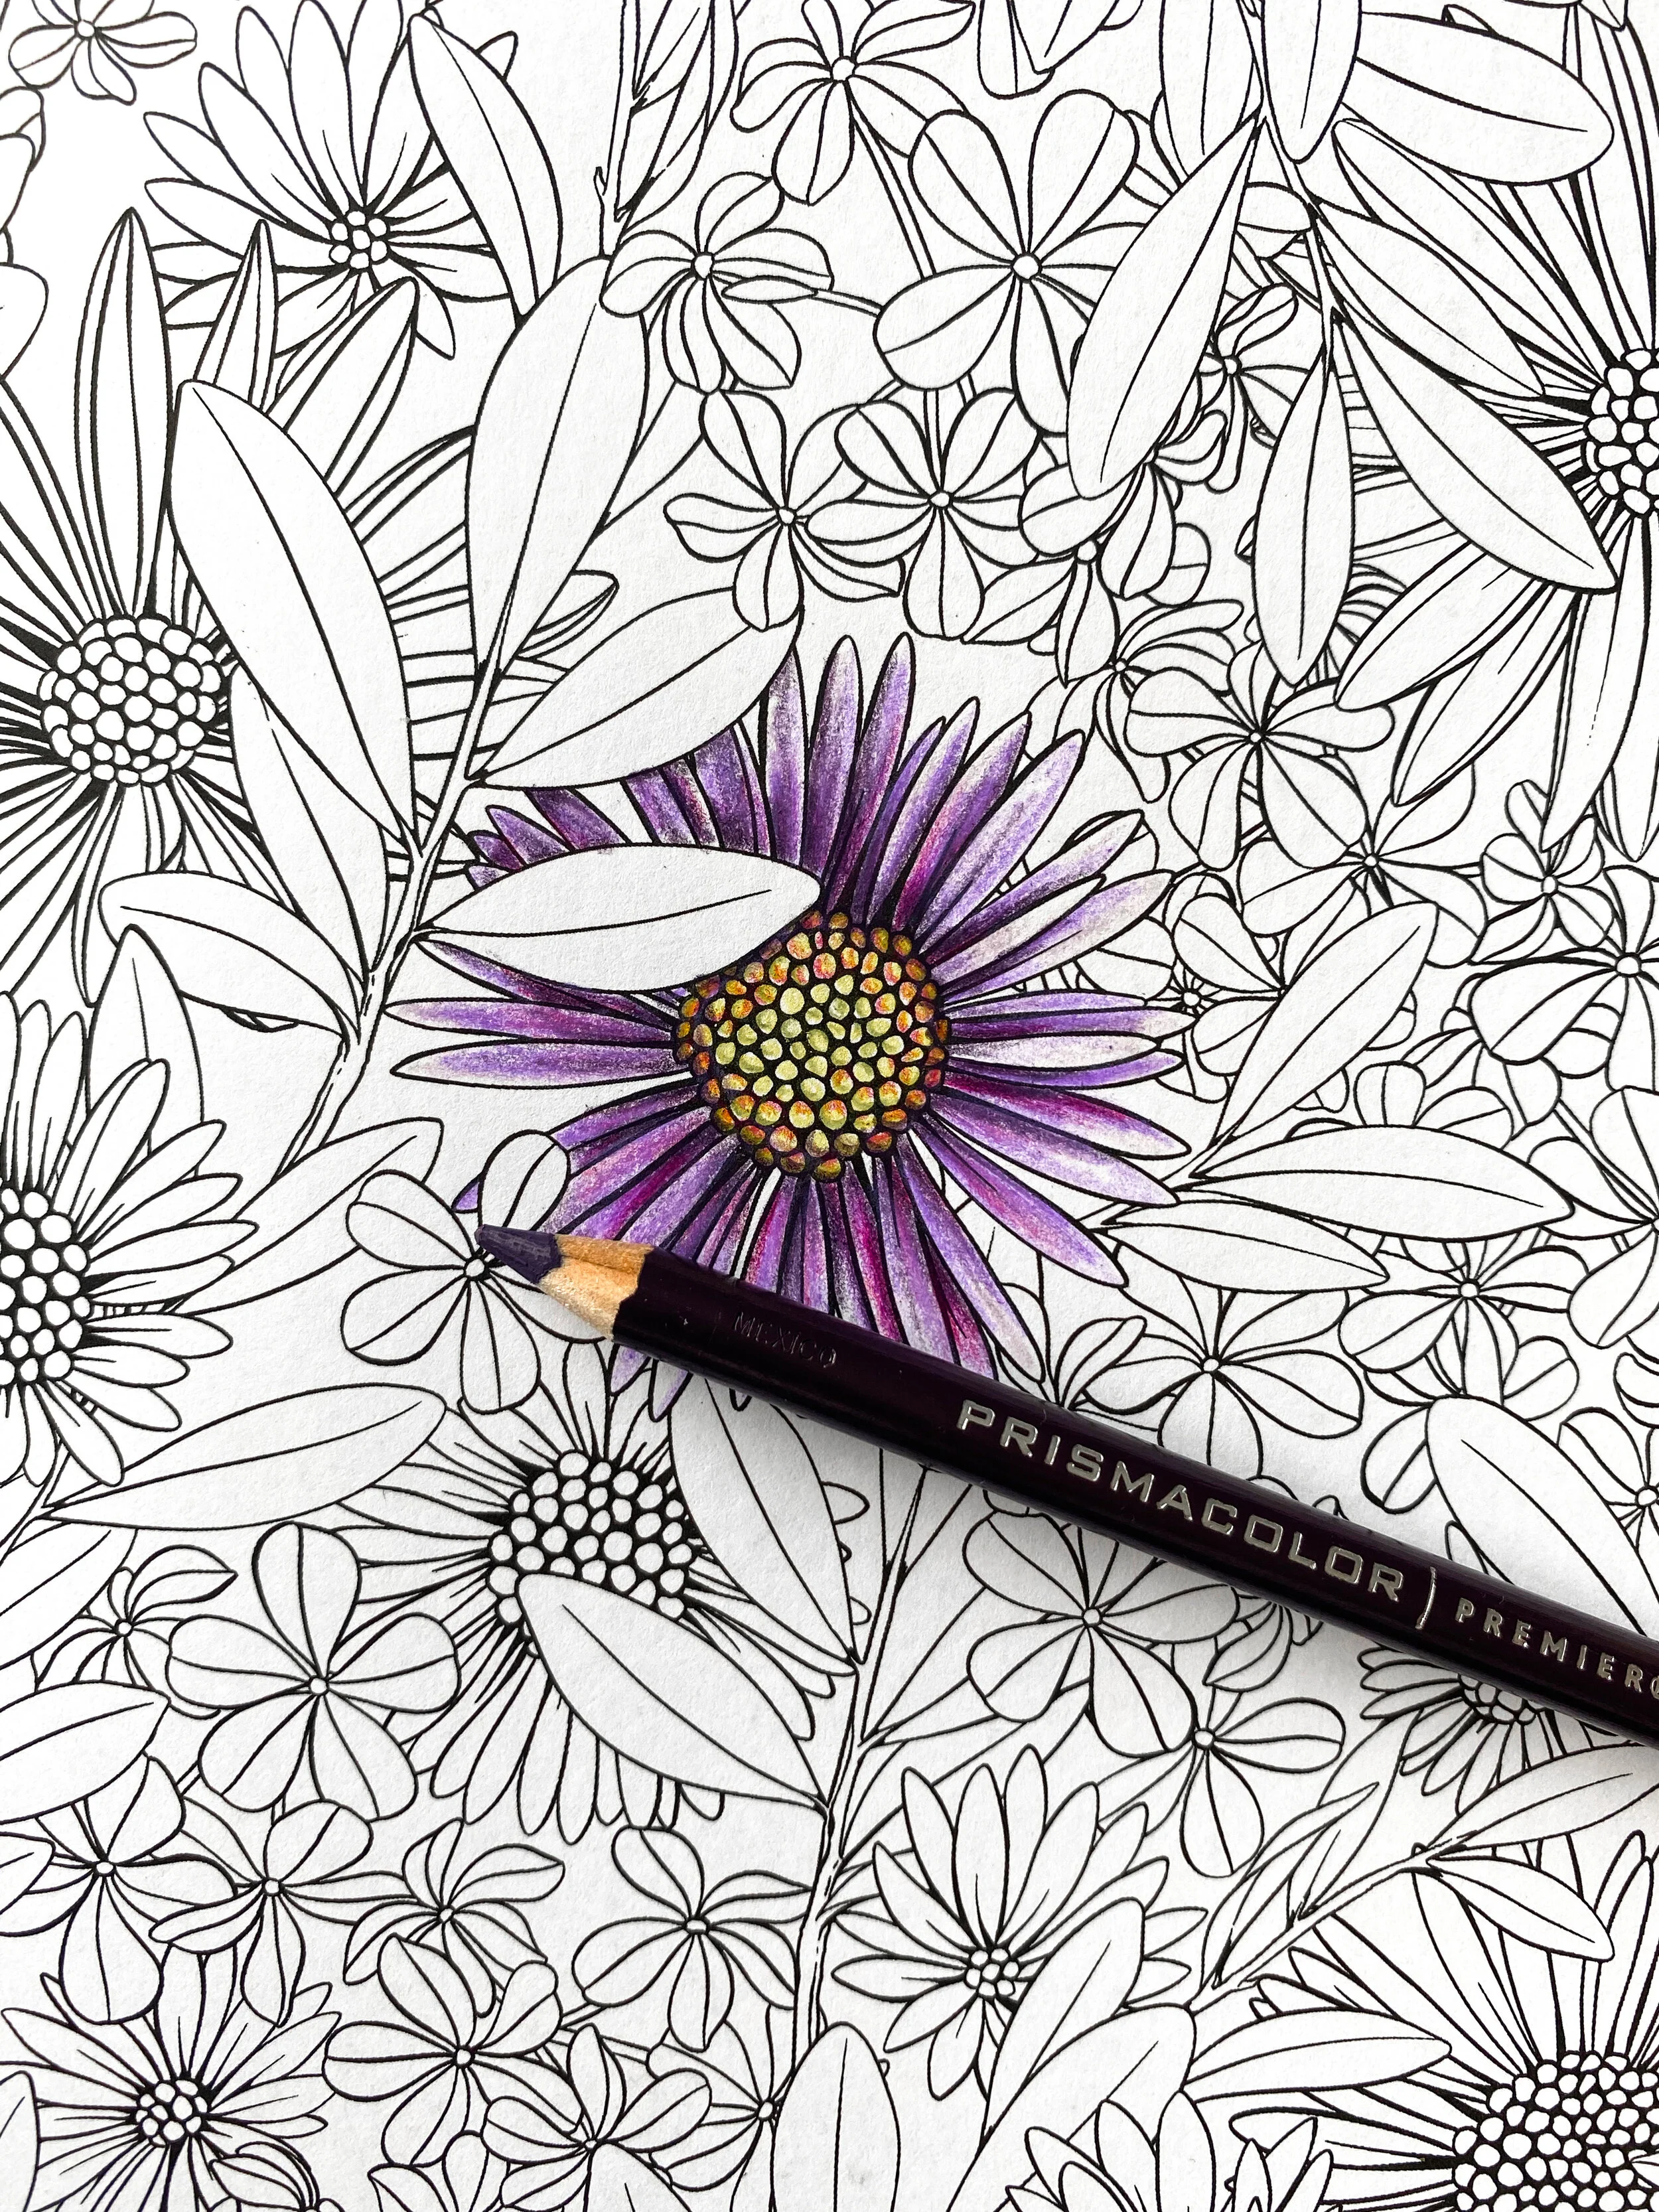
Saturate
Here’s where your coloring really comes to life.
Using your original mid-tone color, add a second coat to saturate and blend. This deepens the over-all color of the flower.

Center
Choose two new colors, along with your accent color.
Here, I chose yellow as my lightest color, green as my mid-tone color, and my original magenta as the accent color

Begin Shadows
After filling with yellow, lightly outline each circle with the green mid-tone on the right edge. I like to use a backward c-shape on each circle.

Add Accent
On the left edge, use a small c-shaped stroke to add the accent color to each circle within the flower head.
Shadow
Use your original dark color to lightly line the outside edge of the entire flower head, adding depth
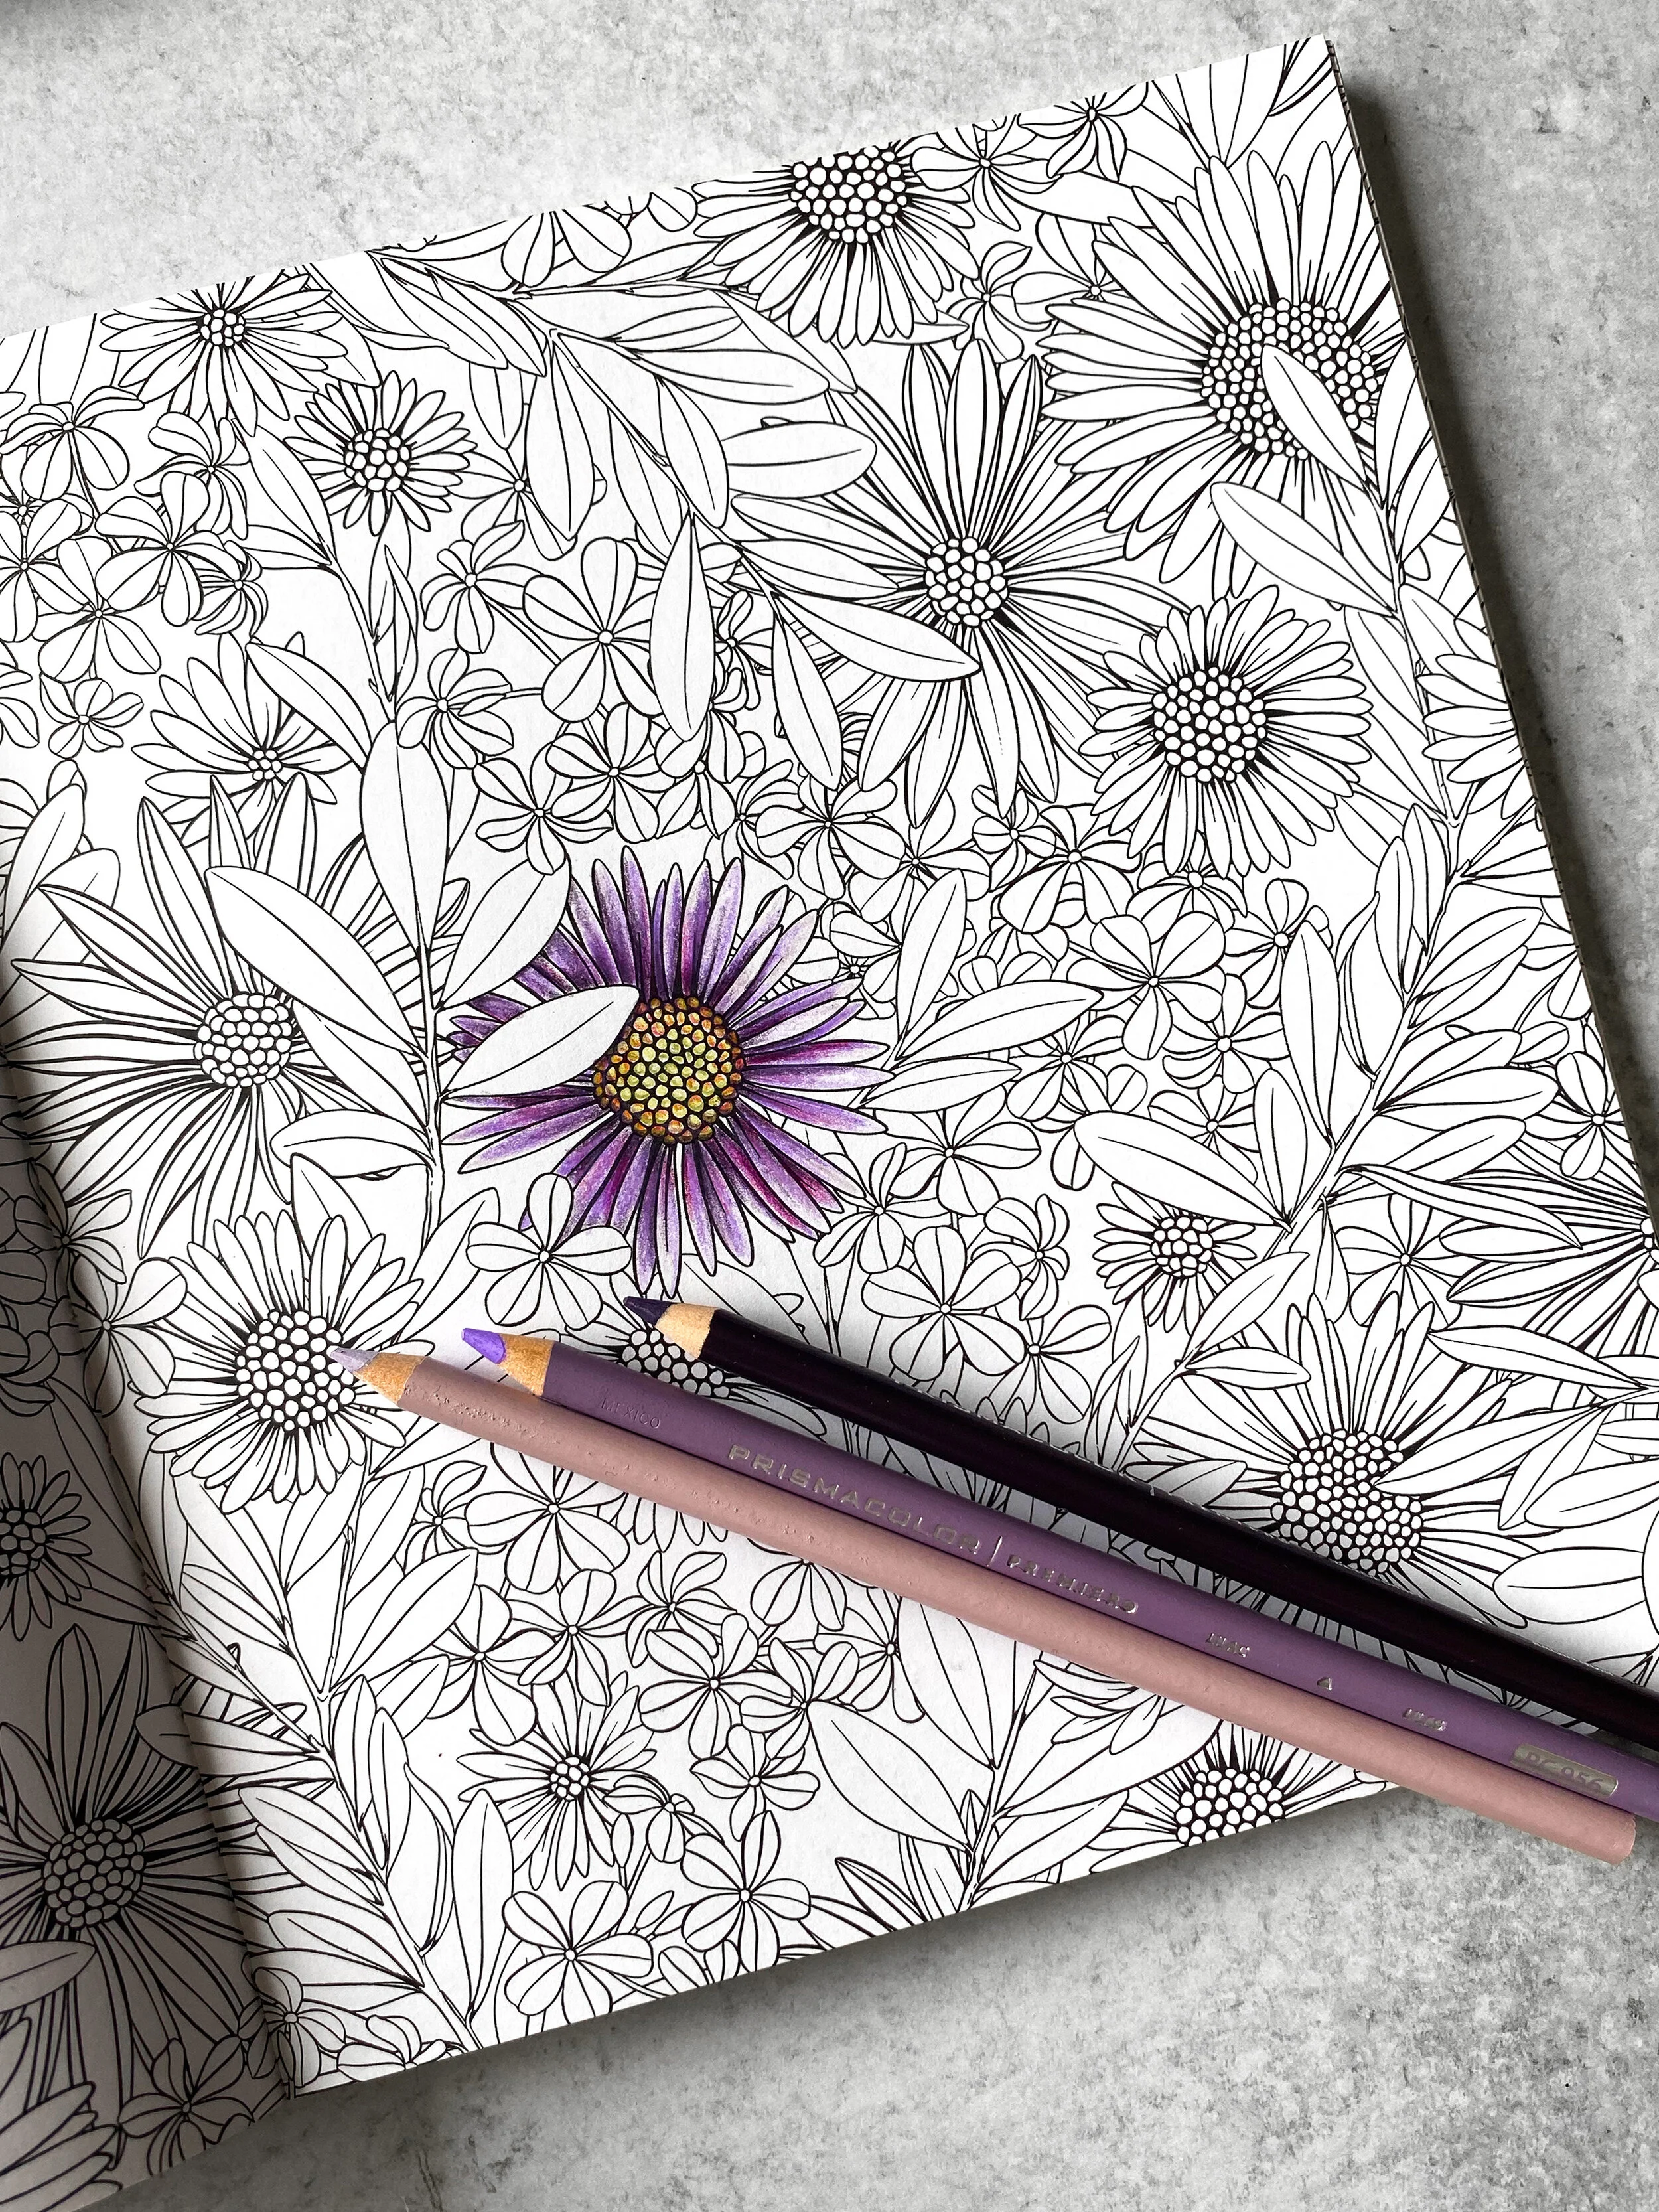
Enjoy your work!
Continue the process on each of the other flowers in the spread.
Remember, coloring is about building and layering. Start with one coat of each to start: Shade, mid-tone and highlight. Repeat the process until your colors are blended and beautifully saturated.